
Last updated November 16, 2026
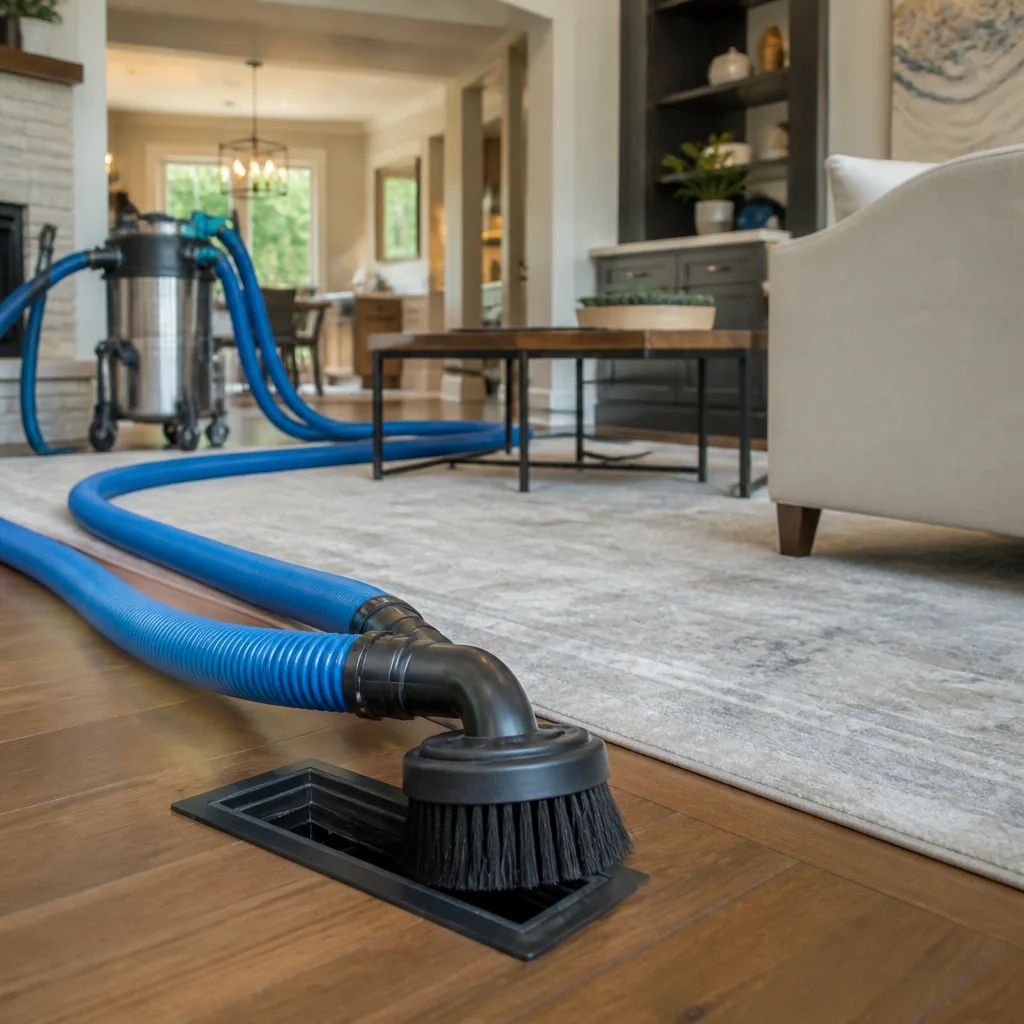 Whole-home duct cleaning
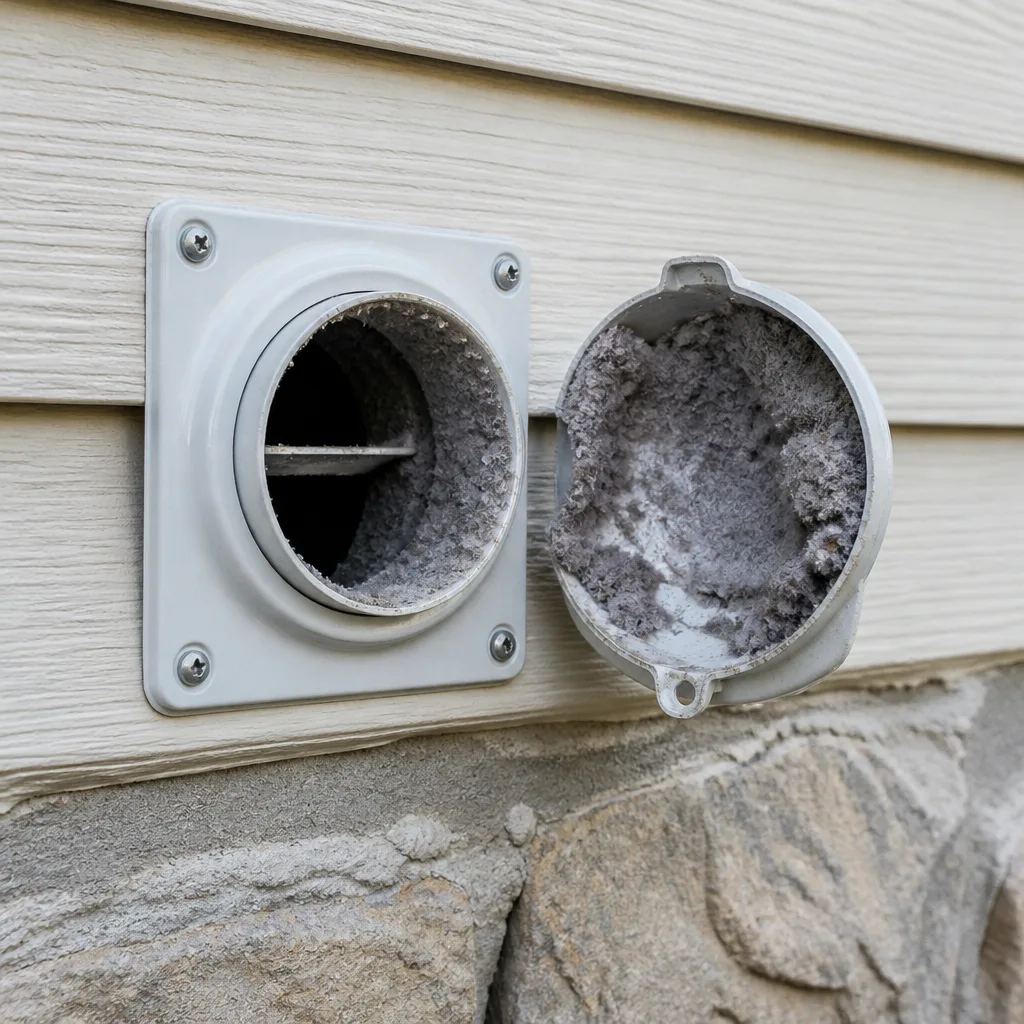 Dryer vent cleaning
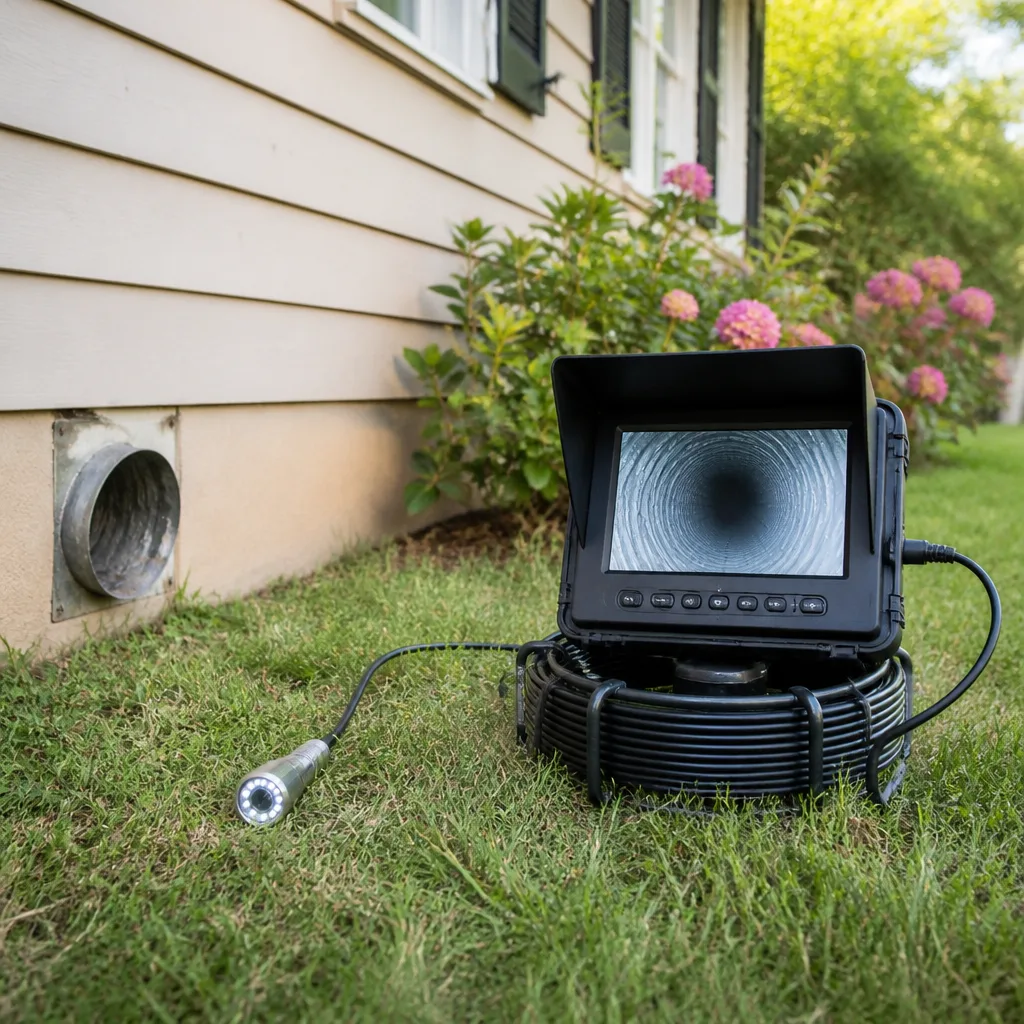 Camera inspection
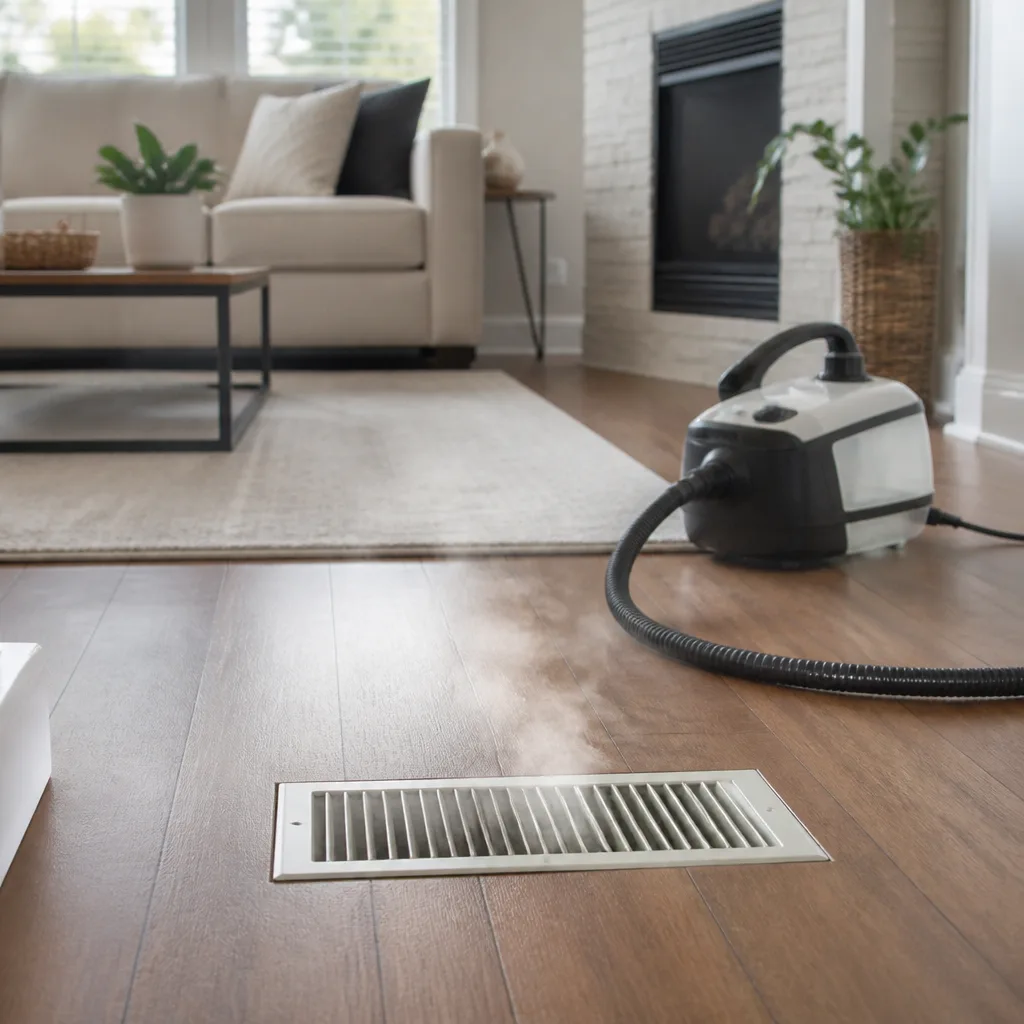 Sanitizing & deodorizing
Whole-system duct and dryer vent check with before-and-after photos - you see exactly what came out of your vents
That "$99 whole-house special" is a bait ad - the real number appears once they are in your hallway, or the "clean" is a shop-vac at the register. We photograph the inside of your ducts before and after instead.
Air Duct Cleaning Maintenance Checklist for Elgin Homeowners
Most duct cleaning advice tells you when to book the next service call. That’s the easy part. The real question is what happens in the months between cleanings, because the conditions inside your system decide how fast contamination comes back. Here’s a common mistake worth knowing about up front: swapping a MERV-8 filter for a MERV-13 without checking what your blower can handle. A filter that’s too restrictive chokes airflow, and that pressure change can push loose debris into runs that were just cleaned. This checklist is built around stewardship of the whole duct system, not just scheduling. You’ll learn what to inspect monthly, seasonally, and annually in the forced-air setups common around Elgin, how to read moisture and airflow signals before problems get expensive, and what to log after a professional cleaning so future comparisons actually mean something.
Quick Answer
A working maintenance checklist for air ducts covers three rhythms: monthly filter and register checks, seasonal inspections of accessible duct sections and moisture signs, and an annual review of the whole system including a professional assessment when conditions warrant it. In Elgin’s mid-century ranch and two-flat housing, the forced-air systems in these homes tend to have longer, more convoluted runs than newer construction, so airflow and moisture checks matter more than most homeowners realize. If you’re already seeing visible debris at registers or uneven airflow room to room, it’s time to book a professional cleaning and start a fresh baseline log.
Styles & brands we work with
- Whole-home duct cleaning
- Dryer vent cleaning
- Camera inspection
- Sanitizing & deodorizing
Table of Contents
- Monthly Tasks: The Fifteen-Minute Check
- Filter Selection: Why Higher MERV Isn’t Always Better
- Seasonal Inspections Tied to Elgin’s Climate
- How to Inspect Ducts and Registers Without Tools
- Moisture Indicators: Reading the Signs Before Odor Appears
- What to Log After a Professional Cleaning
- The Annual Review: What Deserves a Closer Look
- Common Mistakes to Avoid
- When to Call a Professional
- Frequently Asked Questions
Monthly Tasks: The Fifteen-Minute Check
One short walk-through each month catches most of what goes wrong between professional cleanings. You don’t need tools, and you don’t need to touch anything inside the ductwork. What you’re doing is establishing a habit of observation so that changes become visible before they become problems. A homeowner in Elgin who checks their system once a month for a year will know their home’s airflow patterns better than most contractors do on a first visit.
Here’s what the monthly pass covers:
- Filter condition. Hold the filter up to light. If you can’t see through it in a normal month, it’s loading faster than it should and worth investigating why. Check the filter’s edge seal too; a filter that’s not seated fully lets unfiltered air bypass it entirely.
- Register airflow. With the system running, hold your hand near each register for a few seconds. You’re not measuring CFM; you’re feeling for consistency. A register that’s noticeably weaker than its neighbors is a signal to note, not to fix.
- Return grille debris. Look at the return grille face. Fine dust accumulation is normal. Hair, pet fur, or visible dark buildup is not; that’s debris that’s bypassing or overwhelming the filter.
- Visible duct sections. Where ductwork runs exposed in a basement or crawl space, glance along its length. Any separation at joints, sagging sections, or crushed flex duct is worth flagging for a professional look.
- Odor at startup. Turn the system on and stand near a supply register. A musty or dusty smell at startup is a signal to track. A persistent smell is a signal to call.
Log what you find each month, even if it’s “all normal.” The value of a monthly log is comparison over time, and a log that skips months loses its usefulness fast.
Filter Selection: Why Higher MERV Isn’t Always Better
Homeowners often assume a higher MERV rating is always the better choice. It isn’t. MERV (Minimum Efficiency Reporting Value) measures how well a filter captures particles of a given size. Higher MERV means finer filtration, which also means more resistance to airflow. In a forced-air system sized for a specific static pressure, adding resistance is like putting a hand over a vacuum hose: the system works harder, moves less air, and distributes it unevenly.
Around Elgin, the two-flat and ranch housing stock from the postwar decades was often built with duct systems sized for a specific blower and filter combination. Drop in a restrictive filter and the pressure balance shifts. Dust that was sitting undisturbed in a horizontal run can start migrating into supply branches that were just cleaned. The practical result of “upgrading” your filter can be dirtier ducts six months later.
Filter selection criteria worth using:
- Match the filter to the blower’s rating. Check the air handler or furnace label for the manufacturer’s recommended filter specification. If it specifies a MERV range, stay inside it. If it doesn’t, ask a professional before jumping to a high-MERV filter.
- Prioritize fit over rating. A MERV-8 filter that seals tightly filters more effectively than a MERV-13 filter with a half-inch gap around its edge.
- Change by condition, not by calendar. A home with pets, nearby construction dust, or forced-air heat running constantly needs more frequent changes than the box suggests. Check monthly and change when the filter loads, not when the number on the package says to.
- Consider a whole-home air cleaner only if the system supports it. Brands like Honeywell and Aprilaire make media cabinets and whole-home filtration systems designed for specific pressure budgets. These work well when properly matched. Improvised filter upgrades usually don’t.
If you’re not sure what your system can handle, an honest answer is worth more than a quick filter swap. Ask for the system’s filter spec before you buy the next one.
Seasonal Inspections Tied to Elgin’s Climate
Elgin’s four-season climate puts specific pressure on duct systems that homeowners in mild regions never see. Long heating seasons mean forced-air runs move air through the same ductwork for months at a time, accumulating dust in the same low-velocity pockets year after year. Heating season also tends to create dry indoor air that can pull moisture through the building envelope, and spring thaw sends humidity back up. Each season deserves its own inspection rhythm.
Fall (before heating season). This is the most important seasonal check of the year. Inspect the filter and change it if it’s more than a third loaded. Look at every register you can reach and note any visible debris. Check the return air path for anything blocking it. Look at accessible duct sections for sagging or joint separation; cold-weather contraction can widen small gaps. If you’re planning a professional cleaning, fall is when a baseline reading is most useful, before the system runs hard.
Winter (mid-heating season). The heating system runs more hours per day than at any other time of year. Watch for dust patterns that change on register faces, uneven heating room to room, or a persistent dusty smell that wasn’t there in the fall. If the system is short-cycling or a room is much colder than its neighbors, the duct system and airflow balance are worth a professional look.
Spring (thaw). This is moisture check season. Ground moisture rises, indoor humidity climbs, and any small duct defect that went unnoticed over the dry winter becomes visible. Look for condensation on cold surfaces near ductwork, damp spots near registers, or a musty smell at startup that resolves once the system has run for a few minutes.
Summer (cooling season). Air conditioning condenses moisture more than heating does. Watch the condensate path and check that no duct runs are sitting in standing water or touching damp surfaces in a basement or crawl space. If you have a whole-home air quality system like an Aprilaire humidifier, check its filter element too; it accumulates minerals and dust the same way duct filters do.
How to Inspect Ducts and Registers Without Tools
You can learn a lot about duct condition with nothing more than your eyes and a flashlight. You’re not trying to replace professional equipment or a camera inspection. You’re trying to catch the conditions that make a professional visit worth scheduling. Half the value of visual inspection is simply knowing what “normal” looks like in your specific system so you notice when it changes.
Registers. Remove a supply register cover (most lift out or twist off) and look into the boot where the register meets the branch duct. Look for a clean metal or plastic surface. Fine dust is normal. Visible piles of debris, hair, or dark patches need noting. Look at the diffuser fins; if debris is clinging to them, it’s traveling through the system.
Return grilles. Return grilles usually filter through the return air path, so they load fastest. Look at the grille face, then hold a flashlight up to the grille and look for debris accumulation on the grille itself. If the grille is loaded but the filter looks clean, the filter isn’t sealing.
Accessible duct sections. In basements, crawl spaces, and mechanical closets, you can often see long stretches of ductwork. What you’re looking for: separation at joints (look for a gap or gap-toothed tape failure), sagging horizontal runs (positive pressure pushing downward), crushed flex duct (a pinch point that kills airflow), and condensation on the exterior of any duct run in warm humid weather. Any of those is worth a call, not just worth noting. A crushed flex run starves every register downstream of it; you’ll often notice it as a cold room in winter or a warm room in summer.
Interaction between rooms. Close a door somewhere and see if airflow changes elsewhere in the house. In a well-balanced system, some adjustment is expected. In a poorly balanced one, one closed door can cause a dramatic shift. The duct system you’re inspecting is either balanced or it isn’t, and that’s diagnostic.
We’ve seen more failed flex duct in postwar Elgin homes than most homeowners would guess. If you spot any of the above, the right next step is a professional assessment, not a bigger filter.
Moisture Indicators: Reading the Signs Before Odor Appears
Mold doesn’t announce itself with a smell right away. By the time you notice a musty odor, the conditions have been favorable for a while and contamination has already developed. The good news is that moisture leaves a paper trail; if you know what to look for, you can see it before it gets to the odor stage. Moisture is the single biggest variable in whether a duct system develops a biological problem, and it’s one you can actually monitor.
Signs worth tracking near your ductwork:
- Condensation on duct exteriors. In warm weather, the outside of a supply duct run should be dry. Visible moisture means the duct insulation is compromised or the run is sitting in an unconditioned, humid space.
- Damp spots near returns and registers. Water stains, darkening on drywall near a register, or a change in paint sheen are all moisture signatures worth investigating.
- Humidity readings. A cheap hygrometer in the main living space tells you more than any visual walk-through. Consistently high indoor humidity, especially in the basement, is a duct system flag.
- Cold surfaces in the mechanical space. Cold water lines, duct runs, and equipment in a basement can all sweat in humid weather. If the ductwork shares a space with any of them, that’s a condition to monitor.
- Change in the duct smell. Note changes in how the duct system smells at startup: is it dusty, slightly musty, or neutral? A shift from neutral to musty over a few weeks is a moisture signal, even if you can’t see the cause yet.
If you find real moisture in or around the duct system, a professional inspection is the right call. Duct cleaning alone doesn’t solve a moisture problem; it can be the first step, but the source has to be identified. Worth noting honestly: we don’t provide mold remediation; if a professional inspection identifies actual mold growth, that’s a separate service from a qualified specialist. What we can do is address the cleanliness and integrity of the duct system itself, which is the foundation a moisture specialist needs to work from.
What to Log After a Professional Cleaning
The days after a professional cleaning are the most valuable measurement window you have. Once the system is clean, you’re holding a baseline. What you record in the first two weeks sets the standard against which every future inspection gets compared. Most homeowners skip this step, and the result is that when a problem shows up, they have no idea whether it’s new or has been building for years. Logging fixes that.
What to capture in your baseline log:
- Before-and-after photos of registers and returns. The cleaning company should provide these anyway; insist on before-and-after photos of your own ducts. Save copies yourself. A well-run shop using equipment like a Rotobrush rotary-brush system will have plenty of visible difference to document.
- Register airflow impressions. With the system running, test every register and write down your observation for each. “Strong and even,” “moderate,” “weak in the back bedroom.” You’re calibrating your own baseline; the more specific the better.
- Filter type and installation date. Note the exact brand, model, and MERV of the filter installed the day of the cleaning, plus the date. When you change to a different filter (say from a MERV-8 to a MERV-13), log the change and note any airflow difference in the following weeks.
- The date and cleaning method. Note what was cleaned and how. If your cleaning involved HEPA-rated extraction from a system like Nikro equipment, note it. That tells you when the baseline was set and gives you a fair comparison a year later.
- Humidity readings in January and July. Take a hygrometer reading in the main living space and in the basement (or mechanical space) three weeks after the cleaning, in both seasons if possible. These numbers become your moisture baseline.
- Any repaired sections or known deficiencies. If a small duct repair was done as part of the visit, or if a section was flagged for future attention, note the location. Log what was fixed and what was left alone.
Store the log somewhere you’ll actually find it in a year: a note on your phone works fine.
The Annual Review: What Deserves a Closer Look
Once a year, sit down with your log and your observations and ask three questions: has airflow changed, has moisture appeared, and has the dust load at registers increased? If all three are stable, the system is behaving. If any of them has shifted, that’s your signal to book a professional assessment. The annual review is where the monthly and seasonal tasks pay off; small observations accumulated over a year tell you far more than any single data point.
Annual review checklist:
- Compare register airflow notes year over year. A room that’s gotten weaker yearly is telling you something structural; a room that’s always been a bit weak is just the balance of the system.
- Look at the filter change history. If filter changes are getting more frequent without a lifestyle change (no new pet, no nearby construction), dust loading is increasing somewhere upstream of the filter. That’s a duct-system signal.
- Compare moisture readings to last year’s. A humid basement that was 55% last summer and 65% this summer has moved in a meaningful direction.
- Inspect every accessible duct run once more. Look specifically at joints, hangers, and any flex sections. Age and vibration work on these slowly.
- Do one full round of register and return grille photos. A picture is a better comparison than a memory.
- Decide whether to book a professional cleaning. Many systems in Elgin’s housing stock warrant a professional cleaning every few years; the exact interval depends on the log, pets, occupants, and nearby construction. If your log suggests the system rebounded faster than expected, that’s a sign to clean sooner rather than later.
- Check the dryer vent. That’s a separate annual task from the air ducts, but it belongs on the same calendar. We cover it below.
For the professional cleaning part of the annual review, you can see what’s involved in our air duct cleaning service and how we handle each stage of the work.
Dryer Vent: The Annual Check That Belongs on the Same Calendar
Duct cleaning maintenance and dryer vent maintenance belong on the same annual rhythm even though they’re separate systems. The U.S. Fire Administration identifies dryer vent issues as the leading cause of appliance fires in homes, which puts this check in a different category from the rest of the list. The failure mode is lint buildup in the vent run, which restricts airflow and accumulates heat. That’s a fire risk, not just an efficiency problem.
Annual dryer vent checklist:
- Pull the dryer out slightly (only if it’s a flexible power cord and you’re comfortable moving it) and check the connection at the back. The vent line should be snug, not taped with duct tape that’s cracking off.
- Look at the outdoor vent hood. The damper should open freely when the dryer is running. Lint visible at the hood is a signal that the run needs cleaning.
- Time a load. If a normal load is taking noticeably longer than it used to, airflow is restricted. Note this in your log; it’s an early warning.
- Book professional cleaning when the run hasn’t been cleaned in a while. Flexible foil and plastic vent runs are harder to clear thoroughly than smooth metal, and professional dryer vent cleaning uses equipment that reaches the full length of the run. If your vent run is long, or has multiple 90-degree elbows, don’t wait.
- Replace the flexible vent run if it’s the accordion foil type. Smooth metal is the safer standard. A professional dryer vent service can tell you if replacement is warranted, or whether you need a proper duct repair to the vent run instead.
Worth noting: air duct cleaning and dryer vent cleaning use related but distinct equipment. Air duct cleaning pulls a system of ducts clear using extraction and agitation; dryer vent cleaning targets a single dedicated run. Both are worth scheduling together to save time, if you’re due for both.
See the difference
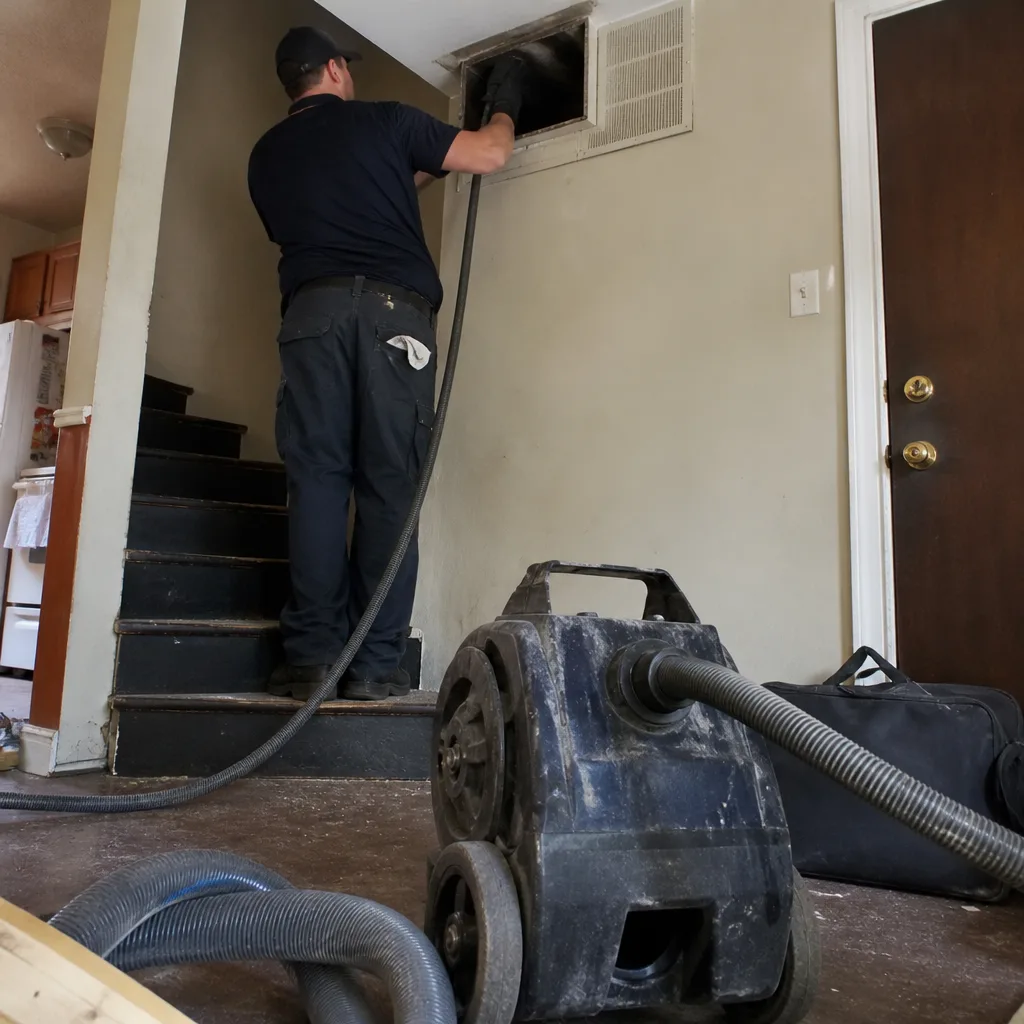 Before
 After
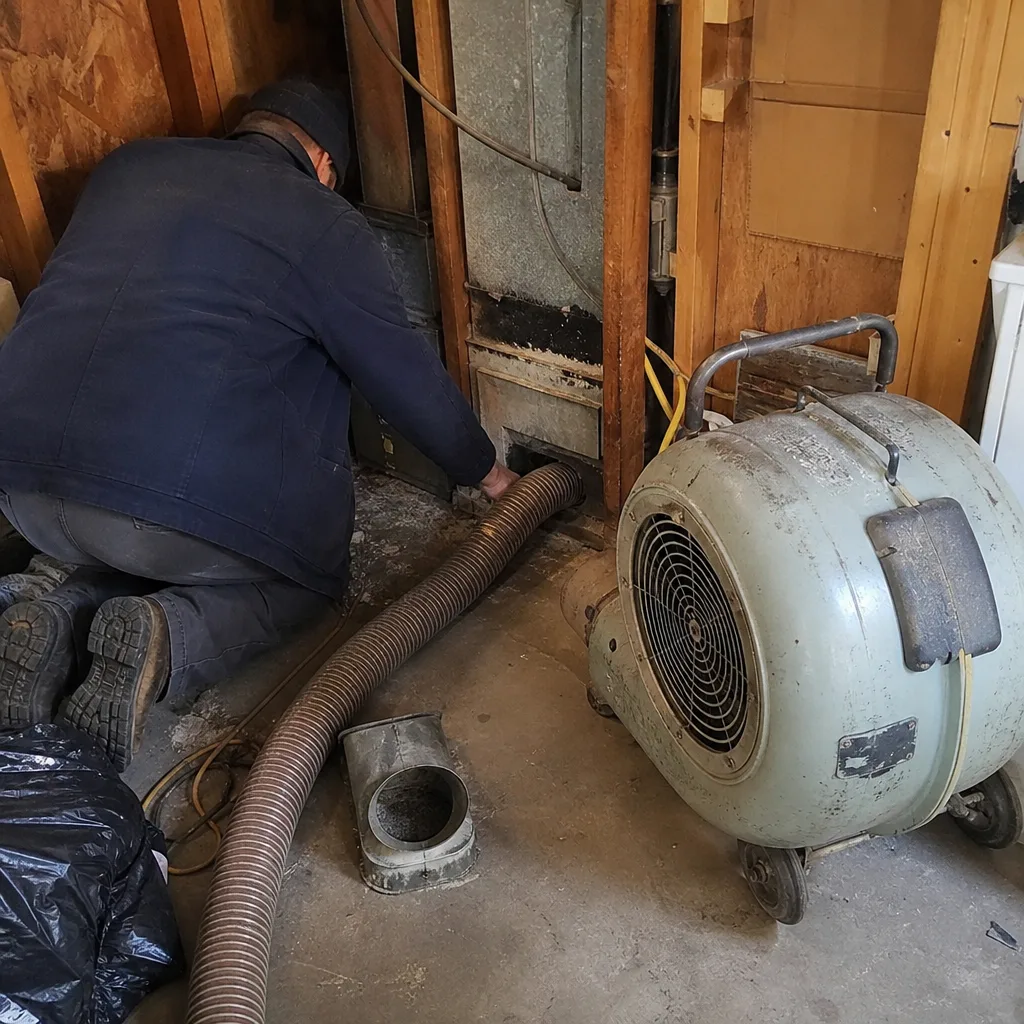 Before
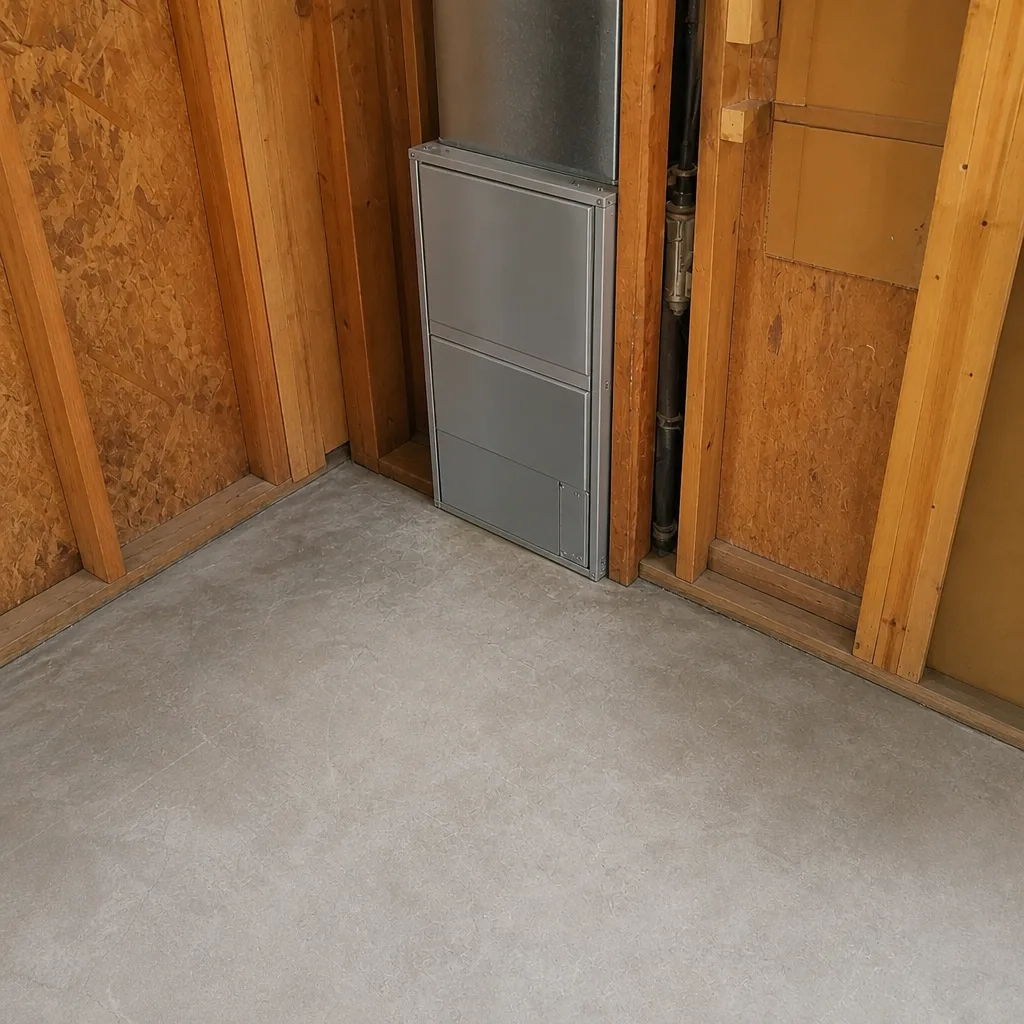 After
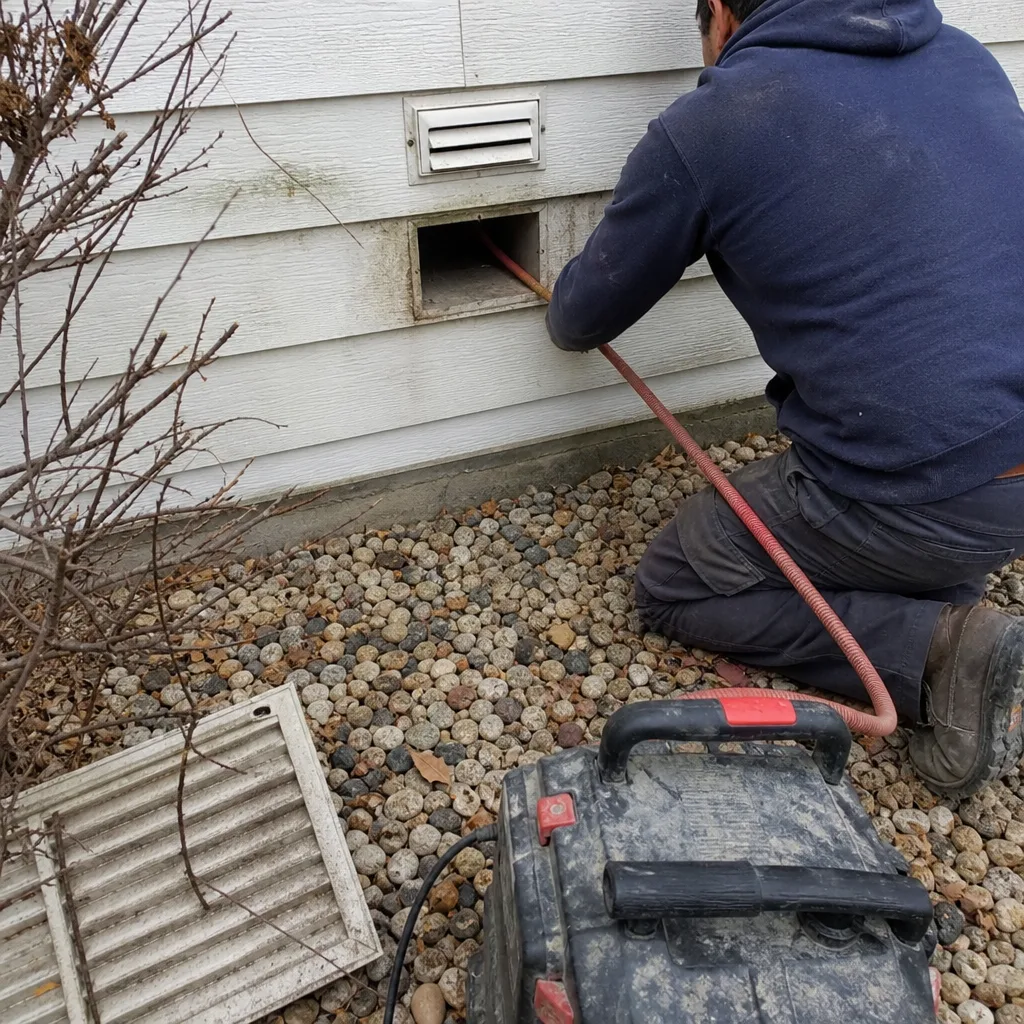 Before
 After
Common Mistakes to Avoid
- Upgrading to a high-MERV filter without checking blower static pressure. A filter too restrictive for the system changes airflow and can push debris into freshly cleaned sections. If you’re switching from MERV-8 to MERV-13, ask a professional first, not after.
- Skipping the log. Without a baseline, you have no idea whether a dusty register in June is a problem that just started or a pattern from five years back. The monthly and seasonal logs are the whole point of the checklist.
- Ignoring a subtle musty smell. By the time the smell is obvious, the conditions have been favorable for weeks or months. A small shift in duct smell is worth investigating before it’s an odor.
- Treating duct cleaning as a one-time purchase. Elgin’s long heating seasons mean the system runs hard for months at a stretch. Maintenance is a habit, not an event.
- Calling a bargain duct cleaning without asking about equipment. A blow-and-go operator using a shop vac from a single access point isn’t cleaning the duct system; it’s redistributing debris. Ask any contractor what equipment they use before they arrive. Any reputable shop will tell you plainly.
- Forgetting the dryer vent. The air duct system gets cleaned and the dryer vent gets forgotten for years. The dryer vent carries the more acute fire risk of the two systems.
- Removing every register cover for a “deep clean” without knowing the duct layout. Some register boots are sealed to the duct with tape or mastic; opening them can break a seal and create a leak. Clean what you can see safely, and have a professional handle the rest.
When to Call a Professional
Some maintenance tasks belong to the homeowner. Others need professional equipment and a trained eye. The line is clearer than most homeowners think. Anything that requires reaching inside the ductwork beyond what you can see with a flashlight belongs in the professional column.
Call a professional for any of these:
- Visible debris inside duct runs beyond what’s on grille faces.
- Airflow imbalance you can confirm across multiple seasons.
- Any real moisture in or on the duct system, or a musty smell that persists.
- A crushed, sagging, or separated duct section.
- A dryer vent that hasn’t been cleaned in years, or that’s taking longer and longer to dry a load.
- Rebound dust that returns at registers within weeks of a cleaning.
We bring professional-grade equipment to every job. Rotobrush rotary-brush systems do contact cleaning, physically agitating the duct walls. Nikro HEPA-rated extraction captures what’s dislodged rather than redistributing it. We also work with Abatement Technologies equipment, and we know Honeywell and Aprilaire air quality systems well enough to install and service them alongside the cleaning. Our technicians have up to 14 years of experience. If you’d like a baseline set on your system, Duct Cleaning Elgin offers free estimates in Elgin: call (855) 393-2846.
Frequently Asked Questions
Most Elgin homes benefit from a professional cleaning every few years, though the exact interval depends on your specific system, pets, occupants, and nearby construction. Homes with recent renovation dust, pets, or allergy concerns typically need more frequent cleaning. Use your maintenance log as the real indicator: if registers load faster than expected year over year, tighten the interval. If airflow and dust load are stable, you can stretch it. Call (855) 393-2846 for an exact quote; estimates are free.
Pricing depends on the size and layout of the system, the number of registers, and the condition of the ductwork. We give one flat price per system, agreed before work starts, and it’s based on a written estimate. We don’t quote per-vent, and we don’t use a teaser coupon that changes once the technician is on site. That’s the single most important thing to look for when comparing quotes. Call (855) 393-2846 for a written estimate on your specific system.
Cheap quotes usually mean less equipment and less time on the job. A shop vac at a single access point doesn’t reach the whole duct system; it stirs debris loose without capturing it. A real cleaning uses contact-agitation equipment to break buildup off duct walls plus HEPA-rated extraction to capture what’s dislodged. Ask any contractor what equipment they’ll use on your system. If the answer isn’t specific, the price is telling you something. Call (855) 393-2846 for a quote on a full-system cleaning.
Two things: before-and-after photos of your own ducts, and a cleaning process you understood before work began. We photograph the before-and-after condition at each register and return, and we walk you through what was cleaned and what wasn’t. You should also get a written description of the method used: rotary-brush contact cleaning for duct walls, HEPA-rated extraction for debris capture. If any contractor can’t tell you the method in plain terms, that’s a warning sign. Call (855) 393-2846 for an estimate you can compare line by line.
It depends on the blower’s rating. Higher MERV filtration captures finer particles, which is good in principle, but it also adds airflow resistance. If the system was sized for MERV-8, running MERV-13 can starve airflow and create pressure shifts that push debris into cleaned sections. Check the air handler label for the manufacturer’s recommended filter spec before switching filters. If it’s unclear, ask a professional before you buy.
Not necessarily the same time, but they belong on the same annual calendar. Air duct cleaning covers the forced-air system; dryer vent cleaning is a separate service targeting a dedicated vent run. The U.S. Fire Administration identifies dryer vent issues as the leading cause of appliance fires, so the dryer vent check is worth prioritizing on its own schedule. If both are due, scheduling them together saves time. Call (855) 393-2846 for a combined estimate.
The Bottom Line
Duct maintenance is a habit of observation, not a scheduling calendar. The monthly filter and register check, the seasonal moisture watch, the annual review against the log, and the fresh baseline after every professional cleaning all work together. Skip the log and the other tasks lose their meaning. Do them, and the system tells you what it needs. The other thing that matters: use a contractor whose equipment you can name. Rotary-brush contact cleaning, HEPA-rated extraction, remediation-grade equipment, and photo documentation are the difference between a real cleaning and a visit that redistributes debris. Book the free estimate, set the baseline, and let the log do the rest.
If you want to see how we approach a whole-system cleaning in Elgin, start with our Duct Cleaning Elgin service. For general context on the area we serve, including the housing stock this guide was written for, see our Elgin page.
We answer 24/7. Fast dispatch from 7am to 7pm, Sunday through Friday. Call (855) 393-2846 for a free estimate. When the technician arrives, you’ll get a written estimate and photo documentation of your own ducts, and the price is set per job by that written estimate.
Written by the team at Duct Cleaning Elgin.